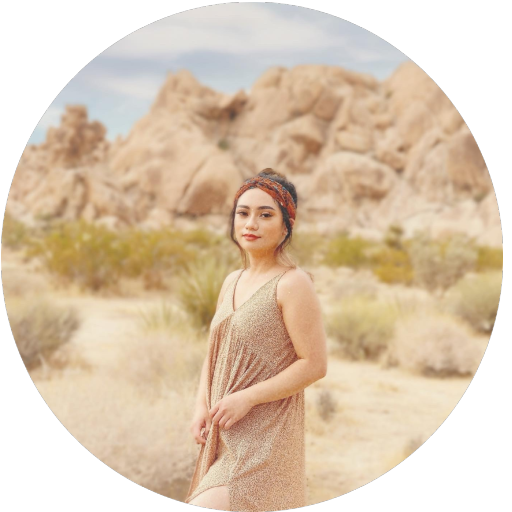
I partnered with Remington once again as part of their Glamorous Me campaign for the holidays! This campaign is all about getting glammed up for the season, so I came up with an edgy, sleek hairstyle and smokey makeup look for you guys to rock at Christmas parties and New Year's Eve, so keep reading for a quick hair and makeup tutorial, as well as my thoughts on Remington's Ultimate Finish Straightener!
Disclaimer: I am a Spectrum-sponsored blogger and received the product and payment from Spectrum. Remington sent this to me to review, but as always, all thoughts are honest and my own.
The Remington Ultimate Finish Straightener® has double the tourmaline, which combines with the ceramic plates to reduce frizz and keep your hair soft and healthy. The plates provide heat protection as well and enhanced shine with micro-conditioners that transfer to your hair during straightening.
I've been using Remington flat irons way before this collaboration, but this one definitely beats all the ones I've owned. It heats up super quickly and really does leave my hair soft and shiny, which is difficult to achieve with heating tools given how damaged my hair is. As you can see, my natural hair is incredibly dry and frizzy, but the straightener makes it look as if I applied an oil-replenishing product!
Since I didn't want to just keep my hair straight for such a special occasion, I did a little side twist-braid to add an edgier touch to the look. You simply take 3-4 small sections on either side of your hair and twist each section as tightly as you can to achieve a faux side shave. Now onto the makeup!
1. Start with a skin-toned base eyeshadow and apply it all over the lid and brow bone.
2. Use a fluffy brush to apply a burgundy eyeshadow all over the crease.
3. Blend harsh edges using another clean eyeshadow brush.
4. Define the crease with a dark brown shade.
5. Blend harsh edges, making sure to stay right on the crease.
5. Apply the same burgundy eyeshadow previously to intensify the color.
7. Draw your usual winged eyeliner.
8. Apply gel eyeliner on the top and bottom waterline and add the same dark brown eyeshadow right under the lash line.
9. Curl and apply mascara to lashes and add a highlight shade on the inner corners and brow bone.
10. Apply your favorite set of falsies (optional).
I also went for a matte nude lip color (NYX Matte Lip Cream in Stockholm) to draw attention more to the smokey eyes.
And there you have it - a smokey & sleek look that's perfect for the holidays! Feel free to try it out for whatever special occasion you'll attend this month, and most definitely have a great time during this season with loved ones! If you haven't already, check out my previous collaboration with Remington here.


Interesting blog. I liked the hair color in the photos. I practiced dyeing my hair at this barbershop and at home. According to the results of painting, the stability was better when painted by experts.
ReplyDelete